
This is the compiled version of my article in 3 pieces over on Spikey Bits. I've compiled it just in case you don't want to have three windows open at once to read the whole thing.
Hey Game Fans, we're back with another article in our series on the Battletech: Alpha Strike Rules. Last week we talked about getting the most out of the Movement Phase. This week we're going to take a look at the Combat Phase. Let's see if we can't figure out how to put all sorts of holes in the other guys?
Combat Phase
Remember, the player that rolled the lowest initiative acts first in the Combat Phase, and that player resolves all of their attacks in sequence before the other player resolves their attacks. Also, remember that damage is recorded but not applied until the End Phase. This gives dead and dying units an opportunity to "shoot back" or "Take one of them with us."
 The standard method of interacting with the combat phase is to make an "attack" This can be a ranged attack using the unit's statted combat values at range (listed on the unit's card). Some units can also make a physical attack, most notably Battlemechs who can kick, punch, and club things to death. Most units can only make a single attack, but Dropships and large structures are capable of making multiple attacks based on firing arcs.
Weapon Attacks
The Player who gets to start the Combat Phase, selects one of his or her units and follows all the steps in the Resolving Weapon Attacks checklist. After a unit completes all the steps (or the player opts to skip a combat action for that unit), select another unit and repeat. After all units have either resolved their attacks or skipped their action, the other player gets to perform the same steps with their units. Let's take a closer look at the Resolving Weapon Attacks Checklist.
Resolving Weapon Attacks
Verify LOS
- Alpha Strike uses True Line of sight, and there are a variety of tools you can use to measure Line of Sight. Measure from the eye level of the attacking unit, and determine whether or not the two units can see each other. If less than 1/3rd of the target unit is visible, the unit can not be targeted. There are a couple of special cases.
- Non-solid terrain (Woods, specifically) does not automatically block LOS like solid terrain. In order for non-solid terrain to block LOS, Line of Sight has to be drawn through at least 6 inches of non-solid terrain.
- Units that are adjacent can always see each other unless one unit is completely submerged underwater.
- Except for grounded Dropships, Buildings, and Mobile Structures, Intervening models do not block Line of Sight.
- Partial Cover ('Mechs only): If more than 1/3rd (but less than 2/3rd) of a 'Mech unit is behind Blocking terrain, the unit is considered to have partial cover, and this is becomes a target modifier instead. Woods do not provide partial cover. Water, depending on its depth, can provide partial cover or completely block line of sight.
- Submerged units can be targeted, but only by other submerged units or units in the same water terrain feature that are using the Torpedo special ability (indicated on its card).
- Indirect Fire: Some units are capable of shooting over or around intervening terrain, and this ability require the Indirect Fire special ability, (again, indicated on the unit's card) and a spotter unit. Indirect Fire is harder to hit with than normal ranged attacks,. It uses the Range modifier of the attacking unit, the movement modifiers of the target, and terrain modifiers based off of the spotter. It also adds an additional +1 to hit.
Verify Firing Arc
- Every unit in Alpha Strike has a specific field of fire it can use its weapons from. The Diagrams on page 35 can show you the specific firings of a variety unit types, and the standard firing arc diagrams for most units. Remember that a firing arc has no range limit, and extends all the way to the edge of the playing field. If more than half of the target's base is outside the firing arc, the attack can't be made. Some special cases apply.
- Infantry has no firing arc, and can shoot in any direction they want.
- Units with multiple firing arcs can only target units in the appropriate arc with that arc's weapons. (A grounded Spheroid Dropship can't shoot across its body to target units on its left side with is right side arc weapons).
- Turrets: The Turret special ability allows a unit a to fire in any direction with its turret mounted weaponry. Units that are using this special ability often have a specific damage value for the turret mounted weapons, and you should check the Turret special ability for more info.
Determine Range
- Alpha Strike has fixed range increments for all of its weapons. These correspond to the damage values for Short, Medium, and Long. Short Range is anything within 6 inches. Medium Range is between 6 and 24 inches. Long Range is between 24 and 42 inches. There are a couple of special cases that apply.
- Underwater Ranges: All range bands for underwater combat are halved.
- Base to Base: Units that are in base to base contact may not make weapon attacks against each other. They can still make physical attacks against each other.
- If a unit has a 0 or a - in a given range band, it can't make an attack at that range band.
Determine To-Hit Number
- Once all the other steps have been done, the player can calculate what he or she needs to roll to hit the target. The Base Number is Skill, and there are seven categories of modifiers that move this number up or down. Range, Movement, Target, Type, Terrain, and a variety of other factors can influence the To-Hit Number. Special rules and a variety of specific modifiers can apply to situations that come up during the game.
- Shutdown Units don't receive the benefit of their Movement modifier.
- A unit is Occupying terrain if its base is touching the terrain feature. It's intervening terrain if LOS passes through the terrain before reaching the target.
Roll to Hit
- Grab a pair of Six sided dice and roll them. If the number rolled equals or exceeds the To-Hit number, you've hit the other unit, if the number rolled is less than the To-Hit number, the attack fails.
- If the target is benefiting from the Partial Cover rule from a building or a grounded dropship, and the attack fails by a margin of 2, the attack has hit the Cover instead.
.
Calculate and Apply Damage
- If the attack hits, the target will take damage, but there are a couple of steps in that process.
- Front or Rear: Units take additional damage when struck from behind, so determining the attack direction is important. In situations where it isn't clear, lay a straight edge from the center of the attacker's base to the center of the target's base. If the straight edge enters through the rear hex face, it hits the rear. If it's half rear and half another face, the target determines which facing is struck. Infantry is always struck in the front facing.
- Mechanized Battle Armor: Some units can carry squads of Battle Armor externally. If a unit transporting Battle Armor is struck from the front, roll 1D6. On a roll of 1-4, the unit is struck normally. on a 5-6, the Battle Armor is hit and takes the damage instead. Excess damage passes onto the unit normally.
- Amount of Damage: The damage applied to the target is based off of the distance from Attacker to target and which of the three range bands that distance falls under.
- Damage to Rear: Any attack that hits the rear facing causes an additional point of damage.
- Overheat Damage: If the unit has the Overheat special ability (check out its card), it can increase its damage at the expense of overheating. This determination has to be made when the attack is declared, but before it's resolved.
- Special Ability Damage: Some of the Special Abilities provide alternative damage values with their own range values. If you are using these special abilities, use their alternative damage values.
- Heat: Some weapons increase the heat scale of other units. A unit with this special ability will increase the target unit's heat in addition to damage dealt. Units that don't track heat take additional damage on a 1 for 1 ratio.
- Underwater Damage: Except for Torpedoes, damage from weapon attacks is reduced by half. Submerged units can be destroyed due to breaches, and every successful weapon attack generates a chance for a critical hit. Units with no armor remaining are considered destroyed.
- AOE Damage (Area of Effect): Units at different elevations add their distance in height to the actual distance from the Point of Impact. If an AOE has a burst radius of 3 inches, for example, a unit that is two inches away from the Point of Impact, and sitting on two inches of elevation higher than the Point of Impact is actually outside the AOE.
- Protomechs: Protomechs are tracked as part of a five unit team, but move and fire individually. There's a handy chart on page 39 to break down the damage an individual protomech deals.
- Applying Damage: Damage is applied using a question and answer flowchart that makes the process easy as pie. We all like pie, right?
- Does the target have any Armor (A) bubbles left on its card?
- Yes: Check off one bubble for every point of damage delivered by the attack until all the damage is applied or all of the Armor bubbles are checked off. Then Proceed to Question 2.
- No: Proceed to Question 3.
- Is there damage remaining?
- Yes: Proceed to Question 3 to allocate any remaining damage.
- No: Proceed to Question 6.
- Does the target have any Structure (S) bubbles remaining?
- Yes: Check off one bubble for every point of damage delivered by the attack until all the damage is applied or all of the Structure bubbles are checked off. Then Proceed to Question 4.
- No: Proceed to Question 4
- Is there damage remaining?
- Yes: the target is destroyed, if it's transporting other units, they are also destroyed.
- No: Proceed to Question 5.
- Does the target have any structure (S) bubbles remaining?
- Yes: Roll once on the determining Critical Hits Table. The Attack is finished.
- No: the target is destroyed, if it's transporting other units, they are also destroyed.
- Does the target have the BAR special ability, or is it an aerospace unit and the damage delivered from a single attack exceed its threshold value?
- Yes: Roll once on the determining Critical Hits Table. The Attack is finished.
- No: Proceed to Question 7.
- Is the target a vehicle?
- Yes: Roll once on the Determining Motive System Hits table (Page 42). The Attack is finished.
- No: The Attack is finished.
- Protomechs (the damage cheats): Protomechs track damage as individual members, so the same table used to calculate individual damage dealt is used to calculate the amount of damage each one can sustain. Damage doesn't transfer between members of the unit, (so I'd use different colored markers or pens to track damage)
.7. Determine Critical Hits
- All units can suffer critical hits (except Battle Armor and Infantry). The process is fairly straightforward. Once the conditions to check for a Critical Hit are met, the attacker rolls 2D6 and consults the appropriate chart based on the unit type. The unit card is marked with any critical hits that are rolled, and they persist until the end of the battle. If a critical hit is determined to have no effect (MP hit on a unit that all ready has a movement of 0, for example), the unit takes an additional point of damage, but does not roll for a different critical hit. The conditions that can cause a critical hit are:
- All Non-infantry Units: Whenever the unit takes damage to its structure points. (Industrial 'Mechs will roll twice and apply both results.)
- Any Unit with the BAR special ability: The Barrier Armor Rating is not as combat effective as traditional armors. Whenever a unit with this special ability takes armor damage, check for a critical hit. If the unit takes structure damage instead, check for two critical hits.
- Submerged Units: Units underwater have to be very careful of hull breaches. Any time a submerged unit takes armor damage, it needs to check for a critical hit. If the unit also has the BAR special ability, it checks twice.
- Aerospace Units: When rolling for critical hits on Aerospace Units, consult their specific rules on page 58 of the Alpha Strike book.
So What do the actual critical hits do? A lot of truly awful things to your units, ranging from completely destroyed, to Movement reductions, to a variety of effects that make them generate heat and run hotter than expected. We're not going to show you everything behind the curtain, but you can check out pages 41 and 42 for both the chart of Critical Hit Effects, and the unholy amounts of damage they can do. Once Critical Hit effects have been determined, (if necessary) the attack has been completed for that unit and you can select another unit to make an attack until all of the attacks have been completed.
Physical Attacks
Physical attacks allow combat units to deal damage to each other without using onboard weapons.
Resolving Physical Attacks
Determine Physical Attack Type
- There are four different kinds of physical attacks in Alpha Strike, and each one deals different amounts of damage and has different modifiers to hit. They are as follows:
- Standard Physical Attack. The Target needs to be within 1 inch of the attacker and within the attacker's firing arc. This is your typical punch or kick.
- Melee Physical Attack. Only units with the MEL special ability can use this option. The target needs to be within 2 inches of the attacker, and in the attacker's firing arc. This is a club/hatchet/sword or other dedicated melee weapon attack.
- Special Physical Attacks. Charges and Death From Above Attacks are riskier than other physical attacks. Only one of these attacks can be declared on a target per turn. These can only be completed against targets that have all ready completed their move/or are stationary. The Attacker must make base to base contact with the target.
- Anti-Mech Infantry Attacks. Units trained with the Anti-Mech (AM) special ability can perform a special attack against ground units or grounded aerospace units. They have to be in base to base contact to perform this attack.
- Determine To-Hit Number
- The Base To-Hit Number is the Unit's Skill Rating. Modifiers to this include:
- The Physical Attack form chosen.
- Terrain modifiers.
- The target's movement modifier.
- Miscellaneous modifiers occasionally crop up.
- All Modifiers are cumulative, so add them up to determine the final To-Hit Number.
- Shutdown units have no Target Movement Modifier.
Roll To Hit
- Roll 2D6 and compare the dice roll to the To-Hit number generated in the step above. If the dice result exceeds the To-Hit Number, the attack hits. If the dice result is less than the To-Hit Number, the attack fails.
Determine and Apply Damage
- Units deal damage from physical attacks based on their size. Units with the Melee Special Ability deal an extra point of damage. There are some special cases.
- Protomechs: Protomechs deal 1 point of damage regardless of other damage values
- Anti-Mech Infantry: Anti-Mech Infantry triggers a critical hit on a successful attack even if the target has armor bubbles remaining.
- Charge Attacks: Charge Attacks rely on speed and momentum to deal increased damage. The Charging Unit deals damage based on the distance it moved during the movement phase and it's size. The Formula for this is Distance travelled divided by 2, multiplied by the value on the charge table on page 43.
- The Charger moves 12 inches during the movement phase to make contact with a Centurion as part of a Charge attack. it succeeds at the charge, and deals (12 divided by 2= 6, multiplied by 1 for the size of the Charger) 6 points of damage to the Centurion. Since the Centurion is Size 2, it doesn't take a point of damage for completing the Charge. Had it charged a heavier unit, it would have taken a point of damage.
- Death From Above Attacks: Death from Above works like a charge, but the attacker has to have Jump Movement. If it hits, the attacker deals an extra point of damage, but suffers damage equal to its size. If the attack fails, the unit executing the DFA suffers damage equal to its size +1.
Determine Critical Hits
- Determine critical hits normally (see our article from last week about it) with two exceptions.
- Units hit by a DFA attack automatically suffer a critical hit. If the attack deals damage to structure, roll twice for critical hits.
- Anti-Mech Infantry attacks automatically deal a critical hit if they are successful.
Overheating
Some units can push the limits of their systems to deal more damage. Doing so generates excess heat, and this degrades combat effectiveness until the excess heat bleeds off.
Using Overheat
- When a player declares an attack, they can declare they are using their Overheat Value, and how much of that value they are using (any amount from 0 to the maximum OV). If the attack hits, the OV is added to the damage value at Short and Medium Range (the OVL special ability allows the unit to add this value at long range). For each point of OV used, increase the unit's heat scale accordingly (Units standing in water reduce this heat build up by one point). Some special cases apply:
- Special Ability damage is not increased by OV.
- Physical attack damage is not increased by OV.
- A Unit cannot overheat more than it's heat scale will allow.
Once you've declared and resolved all of your attacks (Physical and Weapon), you apply the damage and your opponent gets to take their turn resolving all of their attacks. Once both players have completed this step, it's time to move on to the End Phase.Now, this may seem like a lot of steps to keep track of, and a lot of moving parts. Practice it with smaller games and study up on the rules and you'll be flying through the Combat Phase in no time. That's it for our review of the Combat Phase, and we'll finish up next week with the End Phase.
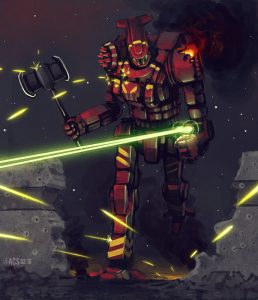
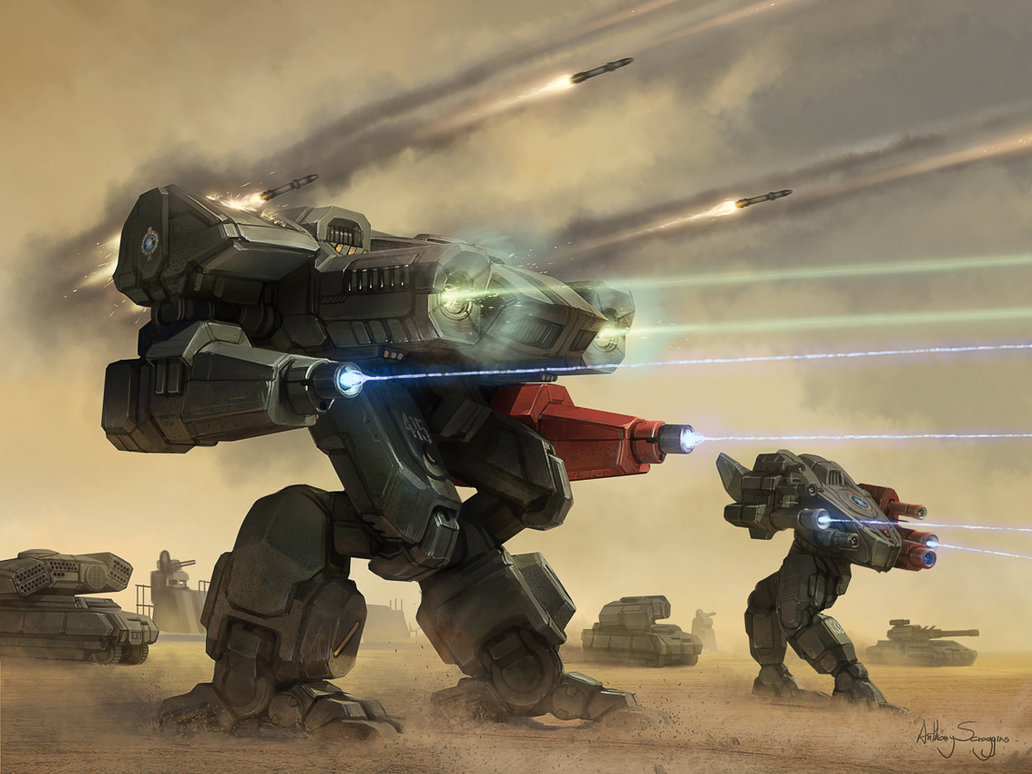
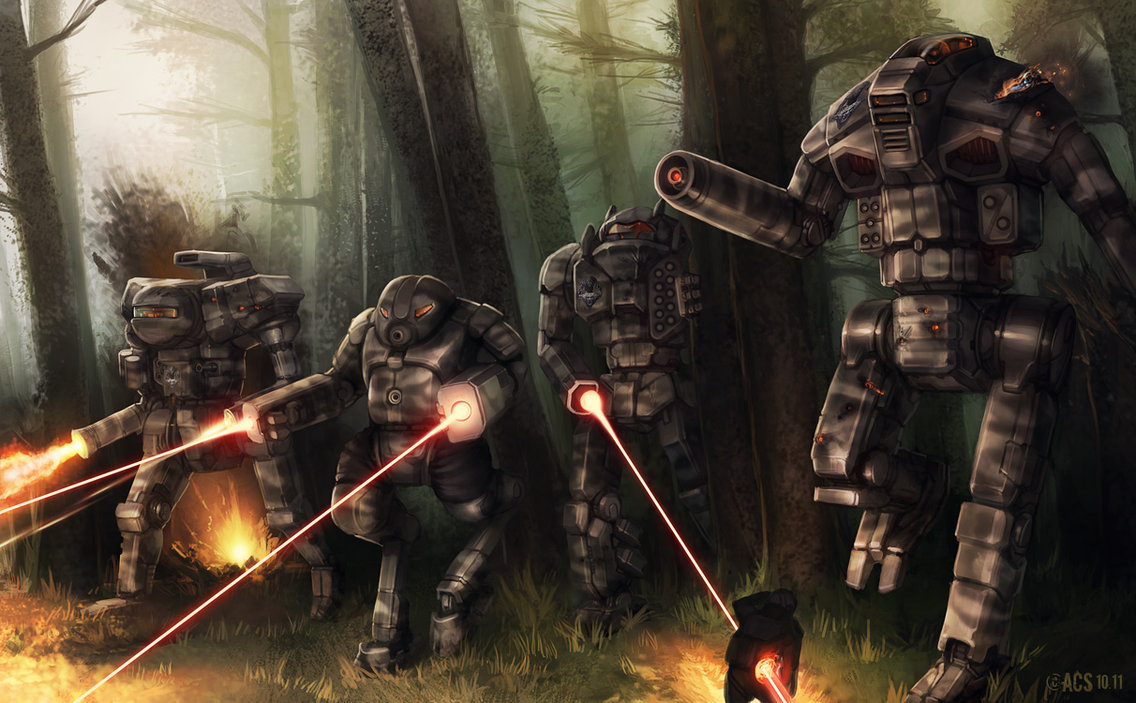
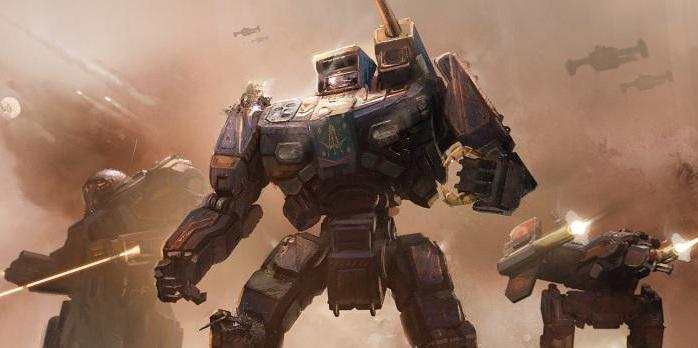
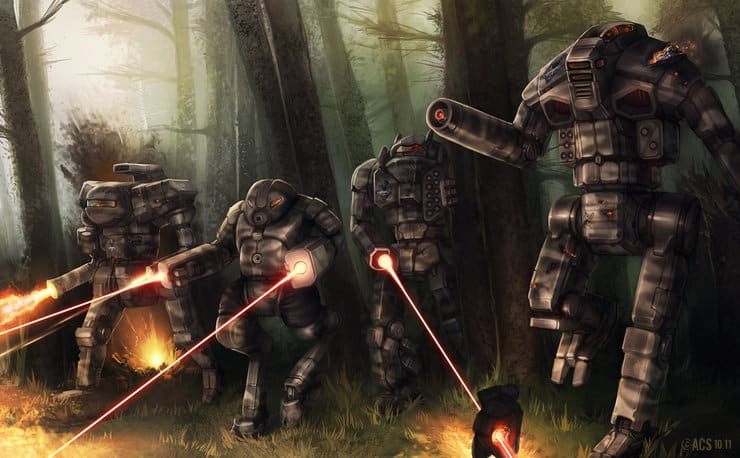
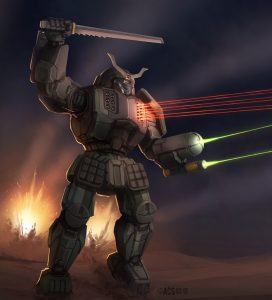
Again, we're borrowing art from the wonderful Anthony Scroggins (Shimmering Sword). You can find his work at http://shimmering-sword.deviantart.com/
No comments:
Post a Comment