
Game Point Value:
450 points
Era:
Late Succession Wars- Renaissance
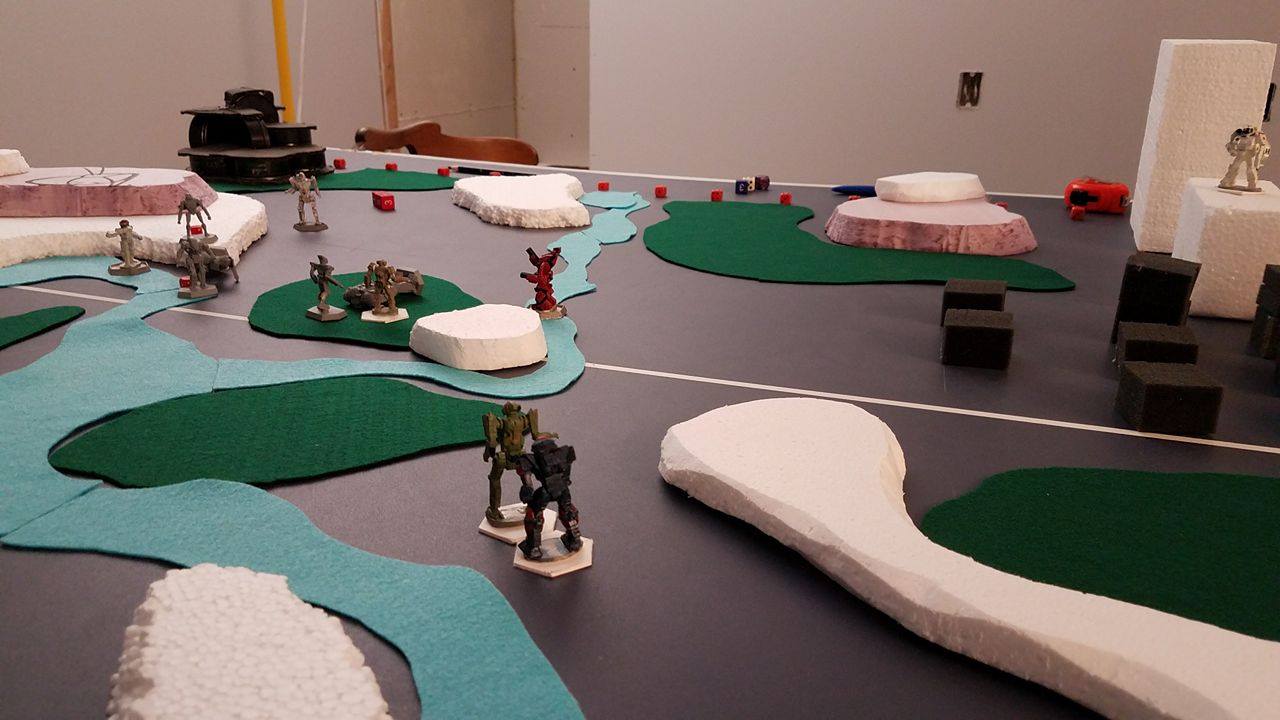
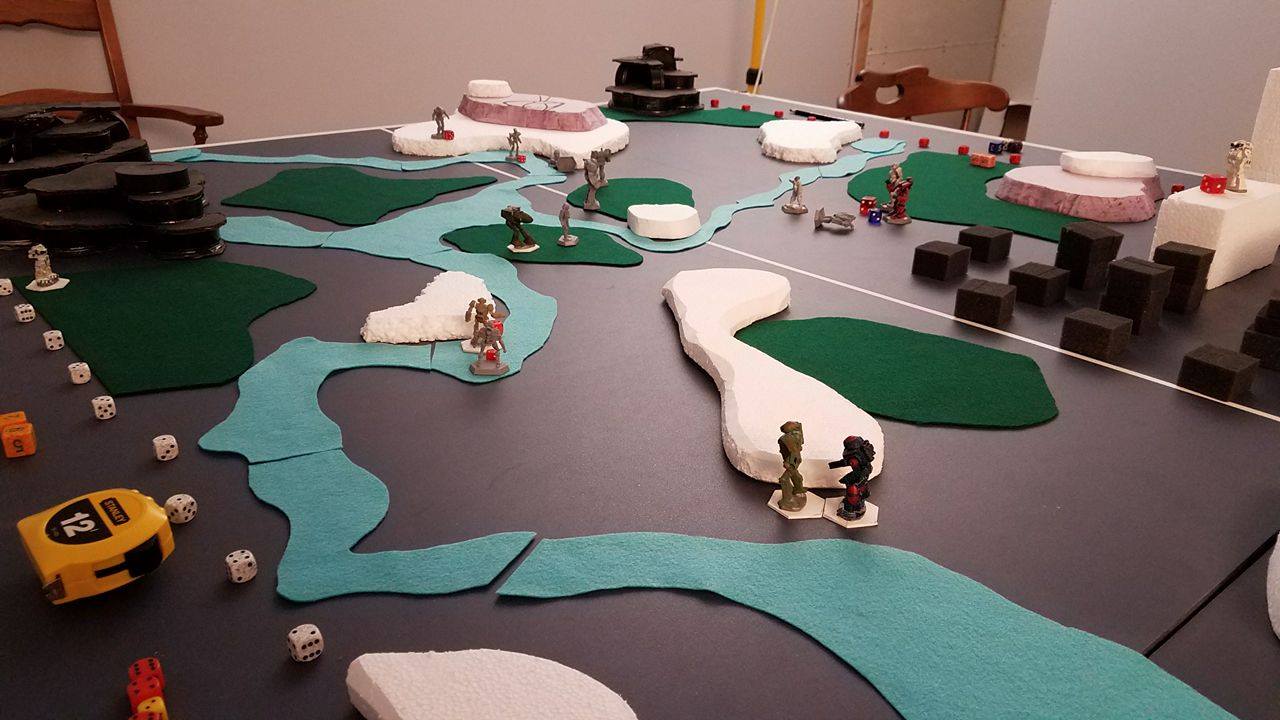
Terrain and Table Setup
Edge of city, hills, level 1 water, lots of woods, 4' x 5' table
Lumpy’s Heroes (2 Players)
Lumpy and Friend have a company of mechs, with average pilot skill of 3.33
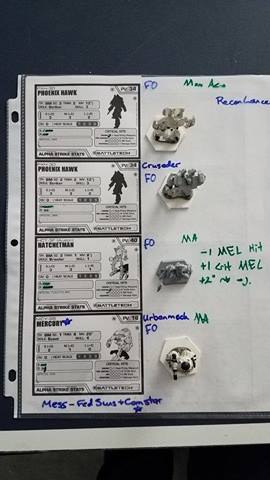
Recon lance skill 2.75: two phoenix hawks, hatchetman (melee spec, swordsman, speed demon SPAs), mercury
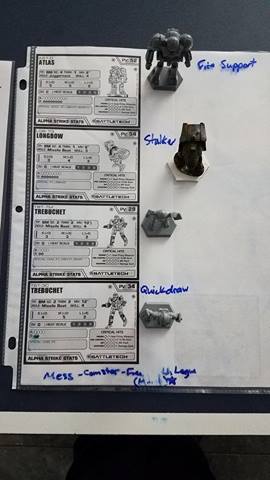
Fire Support Lance 3.75: atlas, longbow (oblique attacker SPA) two trebuchets (one has purchased Oblique Attacker as a 1pt SPA)
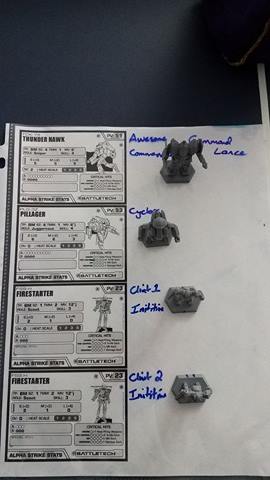
Command lance skill 3.5: thunderhawk (Commander), pillager, two firestarters (both with Combat Initiative)
SPAs: 7 points in total.
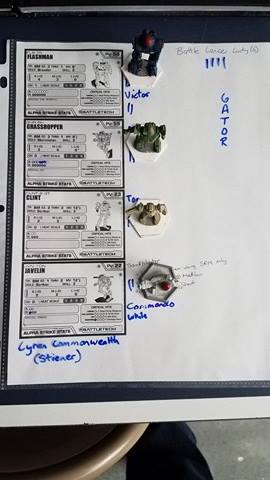
Team Wookie (3 players)
We also have a company of mechs. With average skill of 2.42
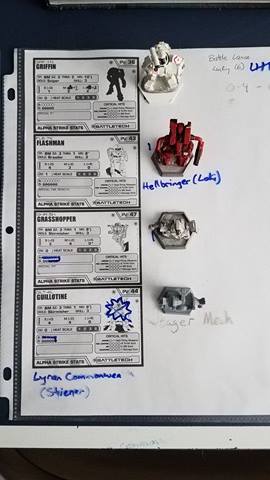
Papa Wookie’'s battle lance: Guillotine, Grasshopper, Flashman, Griffin (Sniper).
Chirpa's battle lance: Flashman, grasshopper, Clint, javelin (sandblaster).
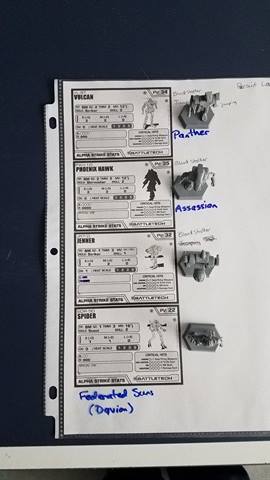
Drewbacca’s pursuit lance: Vulcan (jumping jack), Phoenix hawk, Jenner, Spider
SPAs: 7 points in total.
Game Observations
Lumpy’s company has a very difficult time landing hits this game (at regular pilot skill, 4, at long and medium range, thru terrain obstructions). Relying heavily on the recon lance to spot targets so the IF missile boats in the Fire support lance can take down targets as they slowly move forward. The command lance was a late addition to the mix as another player was brought in just before the beginning of the game. They command lance is using the SPA Combat initiative, (Intuition) which allows a unit to move, shoot and resolve damage during the movement phase, if initiative is won. Drewbacca’s company is prepared much differently for this fight, primarily filled by mechs in the brawler, skirmisher, and striker roles with a few others spotted throughout. We begin with the highest skill rated lance for this engagement, the Pursuit lance. Three of these units receive the bloodstalker SPA, which allows them to hunt down a unit on the battlefield and land hits at an advantage of -1 to the to-hit-modifier, while engaging all other targets at a +2 to-hit-modifier, until the old target dies or flees and a new target is chosen. The other two lances are very similarly built and fit the role of battle lance, which allows each lance the ability to reroll 6 times during the course of the fight (which can be really handy when you missed an easy roll, it is a dice game after all).
Early game:
Lumpy’s company deploys in a mildly spread formation in the woods and hills, while Drewbacca’s company deploys in a very tight castle formation in the city. Lumpy’s mechs move rather quickly thru the terrain via jump and SPA’s to attempt to close the gap for firing and give the slower mechs targets to shoot at thru spotting. Drewbacca’s mechs move thru the city taking firing positions along the way to pounce on the opportunities granted by a cluster of mechs playing in narrow fields of fire, and concentrating fire when they can. In the opening round of fire, the IF boats do not land any hits and the bloodstalkers hit their prey only once (smacked the Mercury for 3 out of 4 points). After re-reading some of the rules, the MCY-99 should have fled the table after that round, because its “about to die!” and the pilot would like to live, but not all were aware of all the rules in place. So we chose to ignore that rule since not all were aware since the start, and thus all mechs fought to the death (however no mechs made suicide runs). After several turns of narrow misses and little damage swapped, one of Lumpy’s Phoenix Hawks dies to concentrated fire, and at this point some players have to leave for other evening plans and the game is put on pause for a week.
Mid and Late Game
The game resumes with 1 less player on the 3 player side (Drewbacca’s side), and now we are down to a 2v2player match. With 15 mechs for Lumpy and 16 mechs for Drewbacca. On the second turn of this day, Lumpy’s mechs start to fall due to not enough support from their slower mechs and concentrated fire from Drewbacca’s company. Every turn after this one, Lumpy loses 1-3 mechs a turn. Drewbacca loses a heavy mech from the first internal critical role awarded, due to an ammo explosion. Drewbacca loses another mech later on due to sheer fire power and too little armor, not to mention poor positioning. However that positioning caused an enemy assault to expose his rear to 3 heavies and 2 mediums (which did not land a single hit, stupid trees got in the way). Lumpy’s company being reduced down to 2 assault mechs (Atlas and Thunderhawk), and Drewbacca’s Company only missing two mechs (Guillotine and Jenner), we finished the match with all of Lumpy’s mechs biting the dust no additional casualties on Drewbacca’s side.
Conclusions
What did we learn?
#1: Make sure everyone knows the rules being used, before starting play.
#2: Positioning is very important.
#3: Regular pilots need to shoot at close targets, or slow targets.
#4: Positioning is very important (yes, this was already mentioned, but it is just that important).
Pictures
Lumpy’s Heroes
Team Wookie
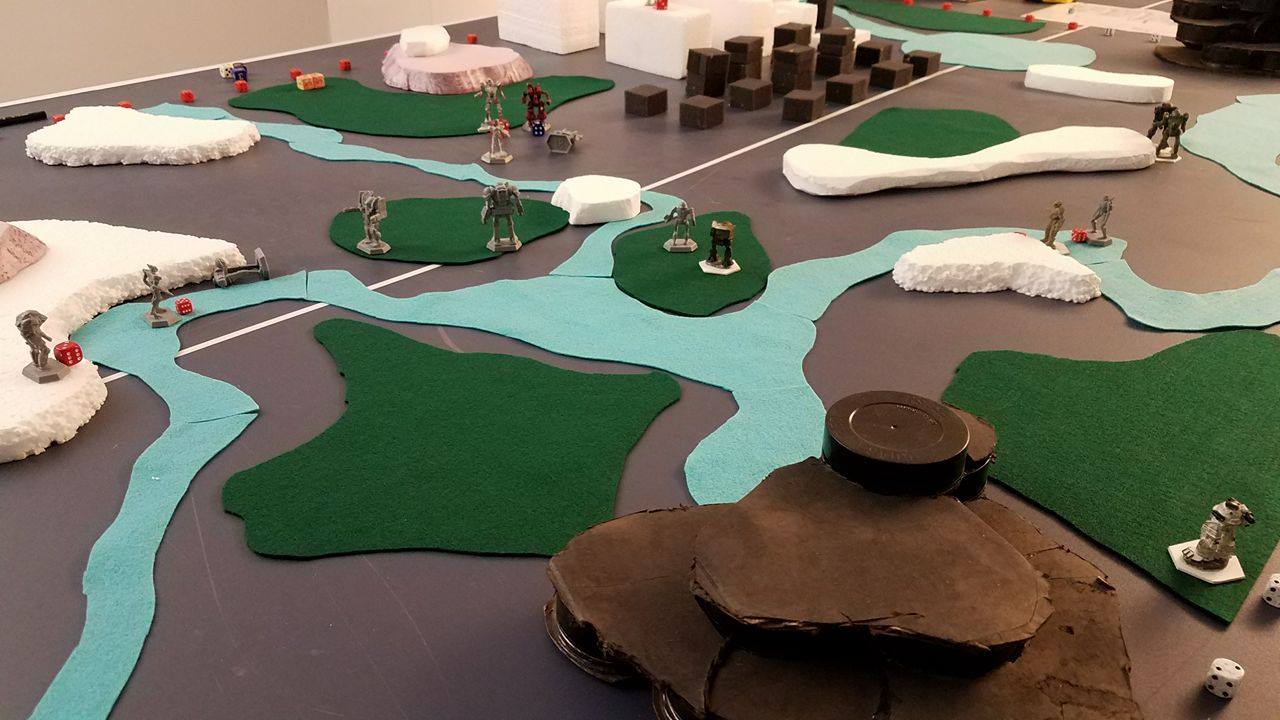
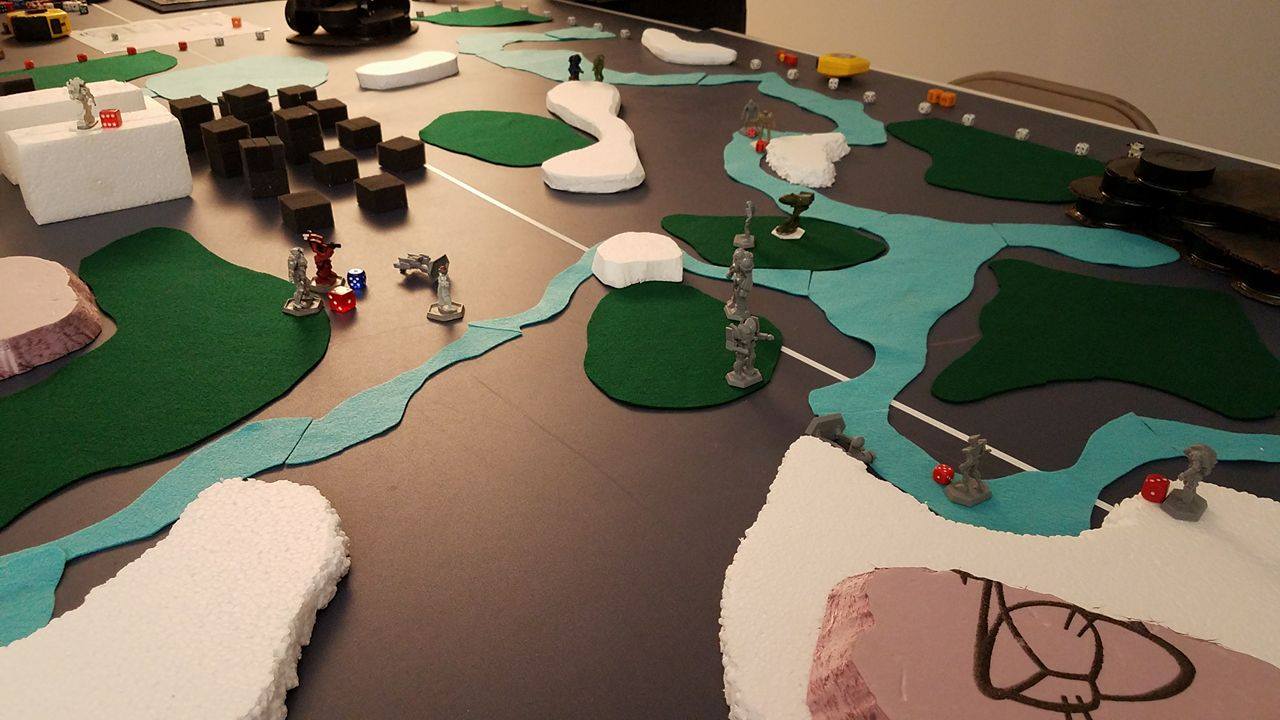
Game Shots
Game Shots (be sure to check out the other article that’s all pictures which you can find here http://zardozgames.blogspot.com/2017/03/alpha-strike-battle-report-4-part-1.html

No comments:
Post a Comment